The process of taking a photograph
Introduction
I’ve had many emails asking me how I go about taking or making an image, so I decided to document the process I tend to go through each time.
For clarification, I use the term taking a photo as the act of pressing the shutter release button to trip the internal shutter. Making a photo involves seeing, recording, and editing a photo that you have taken.
It goes without saying that I don’t go through every one of these steps each time. Photography is way too fluid and will change depending on what you shoot, i.e., genre and/or time constraints.
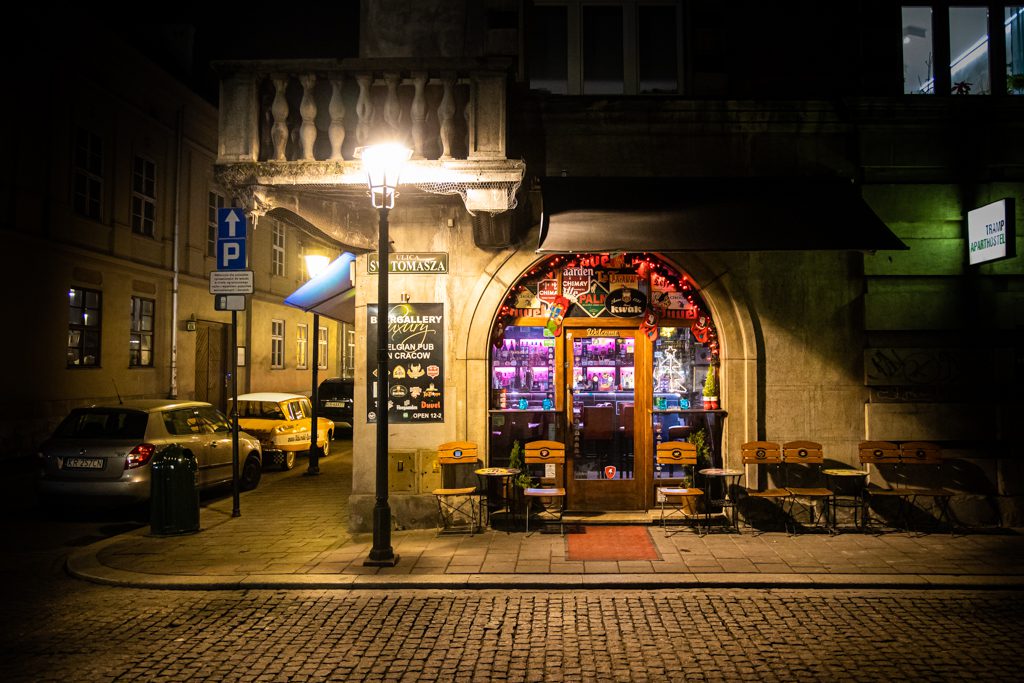
I’ve photographed across quite a few genres, and I always start with the focus on the light, no matter what the subject or what compositional guidelines I may use for each photo. Photography is Light, after all.
The Steps
Planning
Before you go out, decide what time of day you want to shoot in. Is it day or night? Is it in the golden hours of dawn and sunset or the bright midday sun? Consider what light you can expect or need – this is also weather dependent, obviously. I have a phone app called Focalware (free) which is a compass app with sunrise and sunset positioning, elevation, shadow, and times of sunrise and sunset, no matter where I go on the planet. Knowing the exact times of sunrise and sunset has been vital for me over the years. I love those golden hours and want to be there at least an hour before it happens.
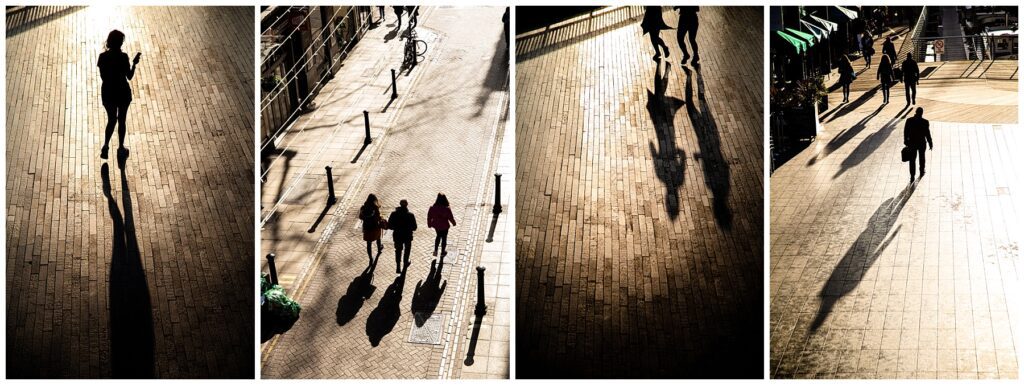
Having several projects on the go at any time allows me to switch between them, lighting-wise. If I am planning a specific shot to shoot, I may plan it for those golden hours to get the best for my project. Take, for example, my Long Shadows work which needs the crisp, warm light only found in the morning or evening.
Seeing the image (no camera)
If I’m doing my urban, street, or travel work, it all starts with me seeing a scene that intrigues me. This can be pretty confusing to see in the beginning, with so much happening in front of you. It takes practice to see what has real photography merit. The best way to practice seeing is by having projects or collections to work on. This help focuses your imagination on more simple tasks. The quote below is one that you should write down and ingrain in your creative thinking.
“When forced to work within a strict framework, the imagination is taxed to its utmost and will produce its richest ideas. Given total freedom, the work is likely to sprawl.” – TS Eliot
When I approach a scene, I notice what elements grab my attention. I trust my instincts here to provide a starting point. I’ve always favoured what interests me first (passions and projects) ahead of what people believe will make a good photograph or what is trending. You need to shoot for yourself first and trust that your true fans will come.
I walk around the scene or subject (if I can) and try to work out what the best starting angle or perspective would be. Should I capture it standing up or going down onto one knee? What are the major elements that grab my attention, e.g., a statue, a person, trees, a building, or a famous landmark?
I then decide what camera and lens combination will best capture the scene in front of me – a wide, standard, or narrow viewpoint. With time and experience, you’ll make many of these decisions without raising your camera.
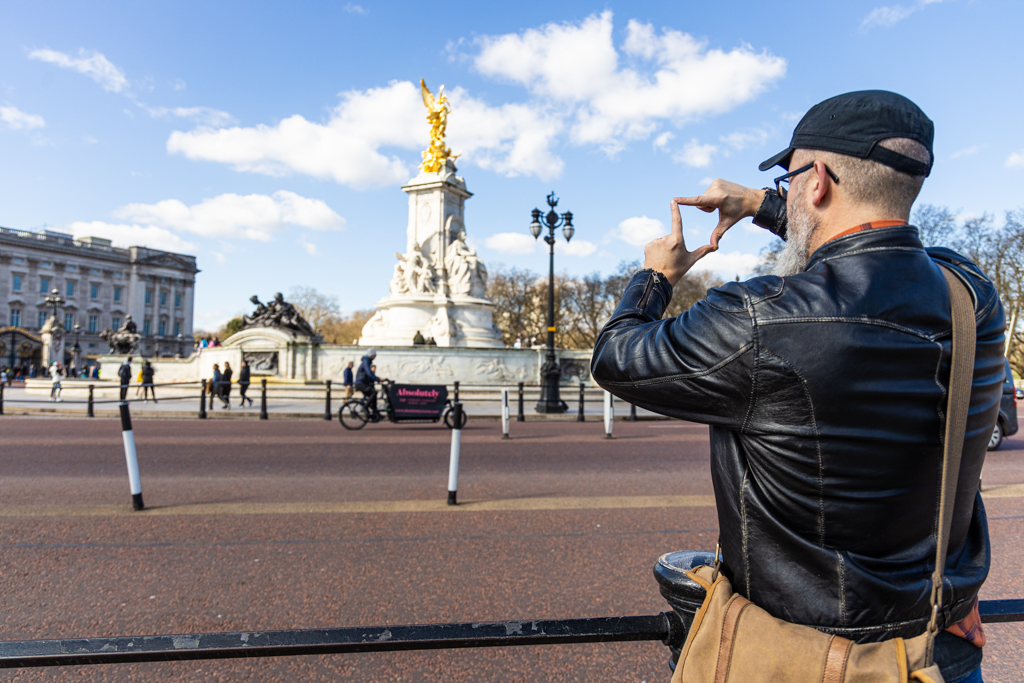
A simple technique for beginners to help “see” a possible photograph
Take the photo (a banker shot)
If there are a few key or interesting elements in the frame, I pick one that resonates with me more than any other, and I start with a banker shot or two. I analyse the scene through my viewfinder to see how the camera and lens combination portray it. It’s interesting to note how this differs from the wider perspective you’re used to seeing. As you get more experienced, you’ll get better at seeing the shot much earlier on.
Remember to check your composition in the viewfinder by looking for objects that carry good visual weight to draw the viewer into the photo. Don’t forget to check the edges of the frame for unwanted elements – dustbins, people, and trees. Change your position in needs be, or recompose to exclude things of no value to your photo.
Because I shoot digital, I can expose while looking through the EVF (electronic viewfinder). I tend to shoot in aperture mode most of the time on the streets, occasionally switching to manual or shutter speed modes. I’m not precious about what camera modes I choose, so whatever I need, I use.
I press the shutter release button, and that’s that. Most times, I usually don’t look at the sequence of images again until I edit because I know if I have got it right in camera or not. Note: If you are photographing animals or people, zoom in to check you’ve nailed the focus and that their eyes are pin sharp.
Work the scene is a common phrase you’ll hear from many experienced photographers. While this is true, you’ll learn when to walk away, so you don’t bruise the scene by overshooting it. There will be more to see around the next corner, so learn to move on.
Don’t waste your time chimping (hunching over and staring at the back of your camera). Strive to get your composition and focus right at the time you take the photo. In the DSLR/Mirrorless world, excessively reviewing your work on the back screen wastes a lot of time and battery power. More importantly, this habit will take you out of the moment and break your creative flow.
The final point is simple. Keep shooting whether you got it or missed out on a good photo. Trust that something else will be around the next corner, and it will be even better next time.
Editing your photo
When you get home, start by rating all the photos from the day or the session. Be ruthless. It needs to be an unemotional task to cut those photos that are substandard, either technically or creatively. Trust your gut to know what is a memorable photograph (I don’t use the word great when it comes to a photograph).
I have a three-rating system that I use in Adobe Lightroom for my work. 5-star is memorable (best of work), 3-star is good photos (for sales and agencies), and 1-star is average work that will never see the light of day.
I filter all the best-rated (5-star) for the day and then choose just one of them to share if there are any. 5-stars are the first that I will edit – colour warmth, composition, saturations, blacks, highlights etc. 3-stars might get edited over the following weeks or months. Why edit all your substandard work – it is a waste of valuable time.
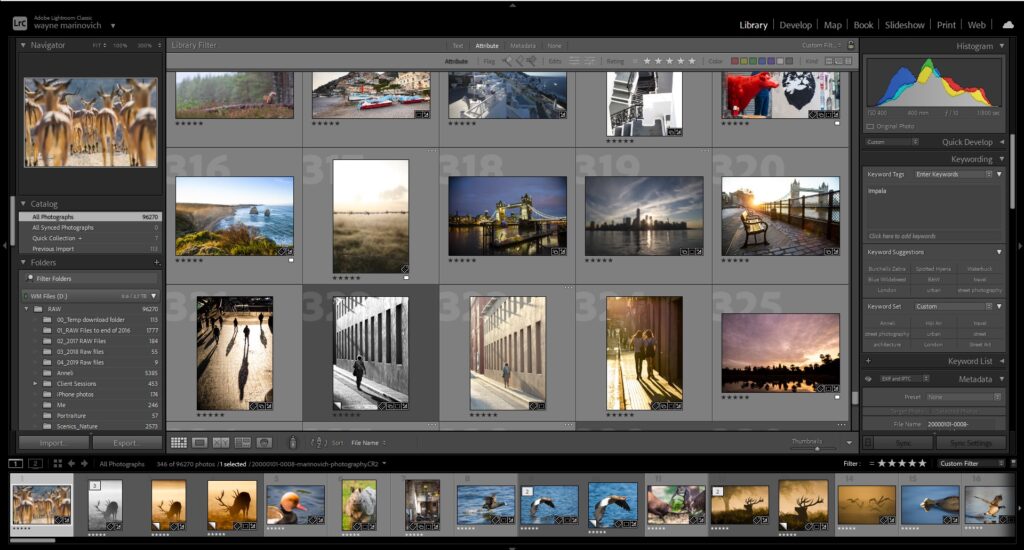
Adobe Lightroom screenshot
Sharing your work
Share these best photos to your website galleries or blog posts first, then worry about social media. These are all tools you should be used to direct traffic to your website, which is your most important hub of work. You don’t own your social media profile (content), and they could disappear in a heartbeat – remember Myspace, Google+ etc.
Share only your best on social media, and don’t get suckered into playing the “followers and likes” game which has no bearing on your creative work.
Simplified process
- See the photos – With sight and emotion
- Take the photo – expose, focus, frame
- Edit the photo – only edit your best
- Share the photo – only share the best of the best
- Take another photo – go back out and keep shooting
Finally
You’ll find your own working methods and workflows, but I hope the process above give you some photographic food for thought. It will take a few years to perfect your workflow as a whole, so just keep shooting and working.
You’re a photographer and only as good as the work you produce. Perfect your photography first, then worry about the rest.
If you are a beginner or amateur who is having problems with your photographic journey, click below to get your FREE copy of Master Your Photographic Journey.
