Self-driving in South African National Parks
Self-driving is one of the best ways to enjoy a safari in South Africa. If you’re a little unsure of what to expect, here are my top 10 tips. I’ve been self-driving South Africa’s National Parks for the past 25 years and often get asked for my photographic tips. Below are some things to make it a success.
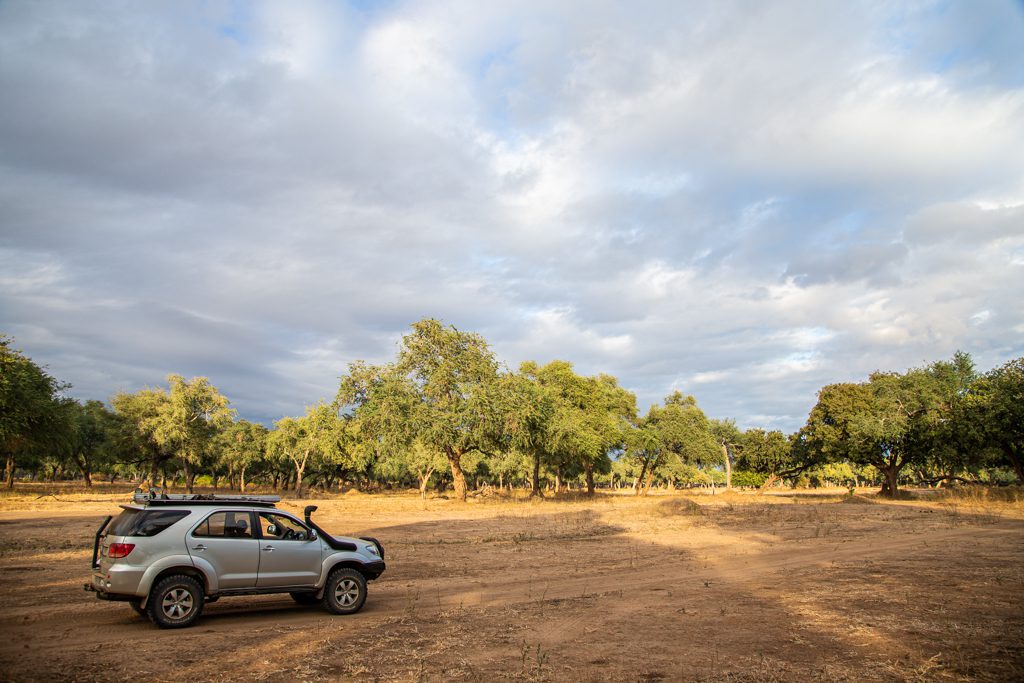
Plan self-driving in the parks, and more importantly, plan the camps.
Well, the first point is obvious. You need to decide on which national park or combination of parks you are going to visit. There could be a myriad of reasons for picking a certain park. You may have been before with an established safari company and want to return by yourself. You haven’t been before but have heard people saying what a great experience it was for getting wildlife images.
Next, you need to decide on which camps you want to stay in within the park, and I recommend staying within the park rather than at a lodge outside the main gates. This will mean more time in the action and racing around in your car. Google the park in question and download any decent maps that I can find online. If you have been before, you will no doubt have maps and books already.
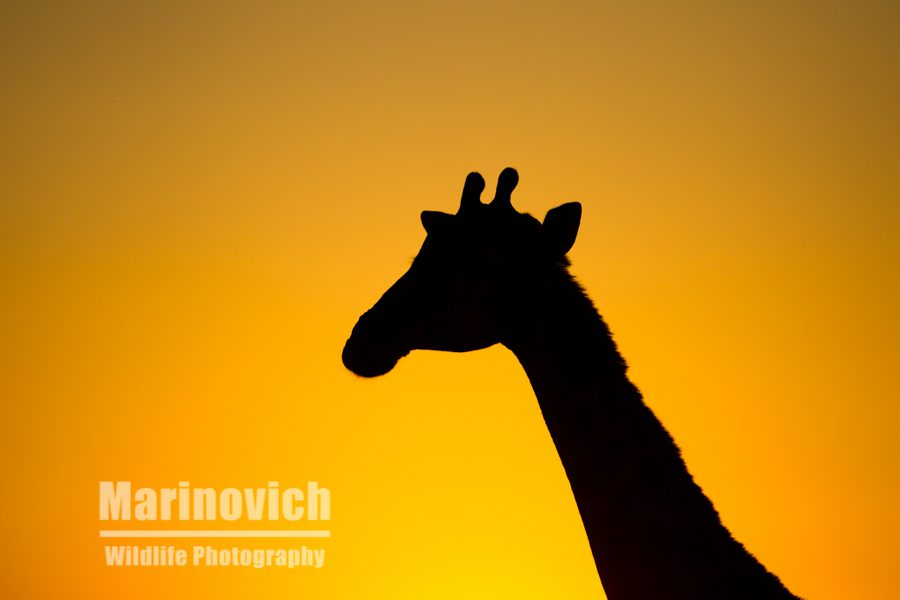
Now you need to establish where north is on the map and look at all the camps on the eastern side of the Park. I do this because in the morning, when you head west, the sun will be behind the car, thus giving you the best light on any subject you encounter. When you return home later that afternoon, the sun will be in the west, so will again be behind the car. This tactic will save you from driving into the low sun and make spotting and photographing a subject a lot easier. If you do want to silhouette an animal, you can always turn the car around.
Sign up with SANParks and book online.
Register and sign up with the South Africa Parks Board. It’s free, and you don’t need to be a South African Citizen to do so. They recently had a revamp of their website, and it’s lot less clunky than it used to be. You can now easily book accommodation after checking availability, just as you would do with most hotels around the world.
This site is not just for bookings but also has a wealth of other info you’ll find useful. For example, when I suffer from bush withdrawal, I scour the trip reports on the forums from other visiting members of the public. It is fantastic to see what other visitors have spotted in the parks, and you can view other fine amateur photographers’ work.
Getting about the parks
Most of the Parks will have roads that are car-friendly, and although the majority might be dust roads, you don’t need a 4×4. Do some investigation first, though.
I prefer cars as they have a lower vantage point, which leaves you at eye level with the majority of animals. It also means that if you are photographing smaller critters, you are not shooting down on them unless they are really close. The downside of the car and the main advantage of the 4X4 is they will be able to see over any long roadside grass and bushes, and so will spot game that may be further away from the road.
So it’s a trade-off. I tend to let the large 4×4 pass me so that they can go and do the spotting ahead while I photograph the closer stuff.
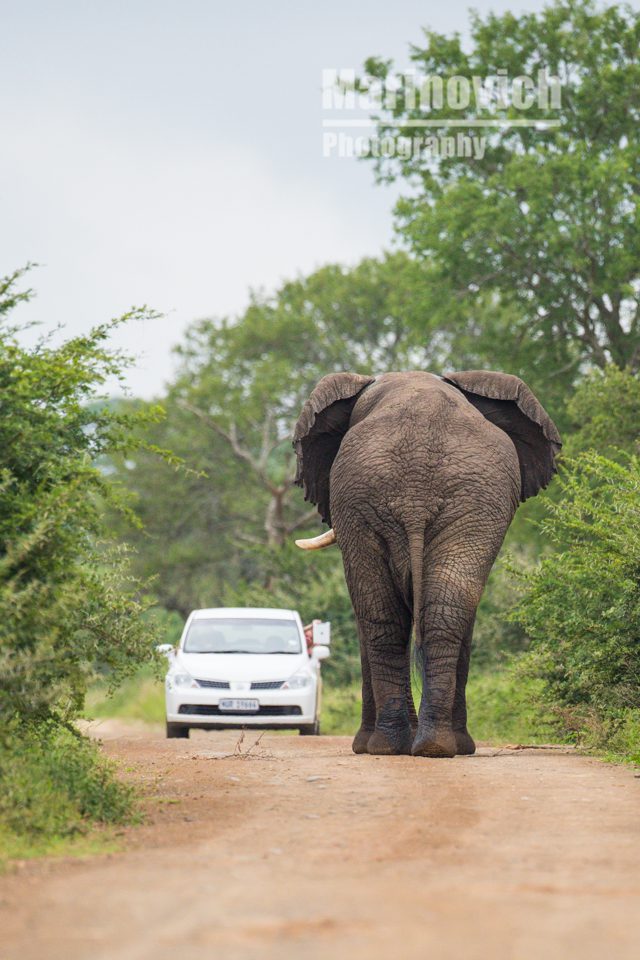
I also only rent manual cars with electric windows (both front and back) because this allows you to quickly open the windows to get a photo and close them quickly when you are in the middle of a troop of baboons. Be aware that some car models in South Africa require you to first press the car alarm immobiliser before turning the key to start the car. This can lead to some interesting moments if an elephant or elephant herd suddenly change direction and start to encircle you.
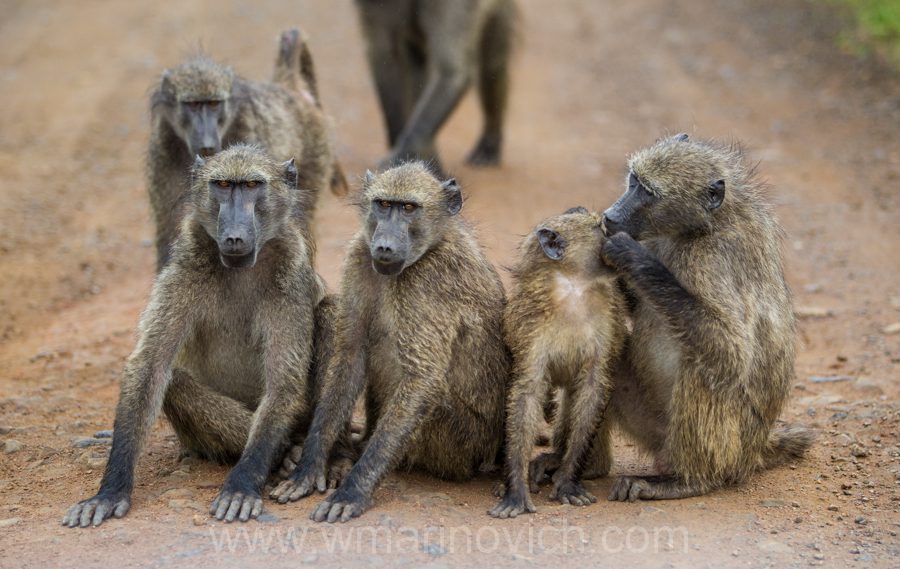
The car is a hide…
Remember that most of the creatures in the Parks will be comfortable and habituated to all manner of vehicles. This makes the car the perfect mobile photography hide. If you get out (which is illegal in all parks and just plain stupid) and break the outline of the vehicle, you will spook the animal or bird. I have seen this many times, and people just won’t learn.
In the bush, animals will use smell, hearing and sight to establish danger. So if you make quick movements inside the car, they could be spooked and take flight. Once you stop the car, don’t immediately stick your lens out the window, they will notice the movement and disappear.
For more wildlife photography tips – CLICK HERE.
Best time to venture out. Chasing the best light.
Africa is renowned for its harsh midday light, so the optimum time to photograph anything is a few hours after dawn and a few hours before dusk. This light is beautifully warm and will bring out the best in any subject that you happen to come across.
If you are a photographic purist, you could split the day into two trips and venture out in the morning and return to the camp for lunch before heading out again for an afternoon trip. The time in the camp can also be used for some editing or maybe a quick swim in the camp pool to cool off. Don’t forget to scout around the camp too. Many of the species of bird found there are habituated to humans, so are easy to photograph.
Personally, I love being in the bush and tend to stay out all day. The light may be harsh, but some of my most memorable encounters have happened in the heat of the day. The photos may not be the best, but I love wildlife first and photography second, so sitting and having a sandwich at a waterhole or even having a snooze with the sounds of the bush drifting through the car window is what the self-drive experience is all about.
Drive slowly with your windows open.
If you drive slowly (around 20 km/hour) with your windows open, you will be guaranteed to see more. No point in keeping the windows closed and the air conditioner pumping if you miss the chance to get some decent photos.
The alarm calls of many birds, antelopes and rodents could indicate where they are or indicate the presence of a predator that might be resting nearby. On a few occasions, I have stopped for bird alarm calls and seen snakes on the ground or up trees. The alarm calls could also be the bird reacting to your presence, so not all efforts will be rewarded with a photograph, but that is what game spotting and photography are all about.
What you need to take in the car
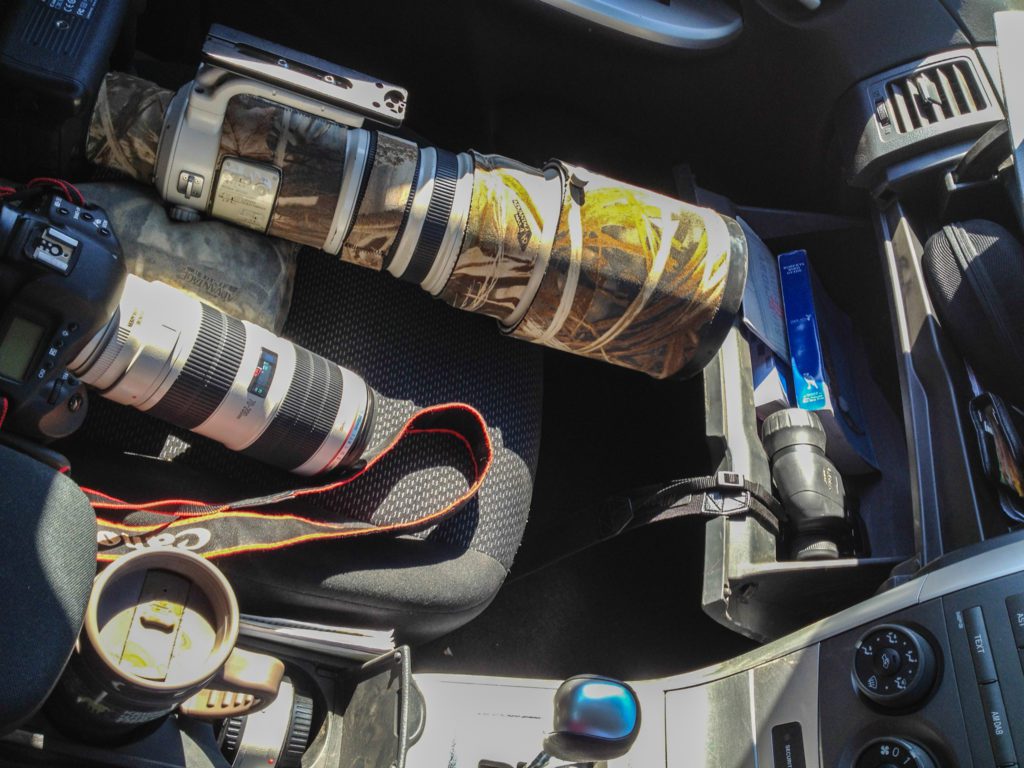
All your photography equipment. I know that is stating the obvious, but that means all the equipment you brought to the park with you. No point in leaving it in the camp only to miss a shot because you don’t have a lens or something. The most important bit of kit I use is the beanbag that can be rested on the car window frame, taken into a hide or used as a pillow. I tend to fill it with wild bird seed, which I buy from a supermarket when I arrive in South Africa. When you leave, you can scatter the seeds around the camp for the wild birds. This allows me to flatten the beanbag for my flight home.
Memory Cards
Take enough memory cards with you. They are so cheap nowadays that I tend to have eight 32Gb cards in rotation at any one time. I use 32Gb cards because when you are out all day shooting, the chance of one of them failing at some point increases dramatically. It is better to lose one card with 32Gb of images on it than it is to lose one 128Gb card.
Cameras
If you use two cameras as I do, set one up for action and the other for portrait work. If you only have one camera with you, I urge you to get to know it as well as you can. This will allow you to change the settings quickly and effortlessly.
Guides and bird books
I always take a bird book, binoculars, and notebook in the car with me. The binoculars are also used to scan the bush for subjects instead of using your long lens, which uses up battery power.
Cleaning kit
There is always a small paintbrush in my bag because driving with your windows open on dusty roads all the time means that dust will make its way into everything over a period. Brushing down your equipment regularly helps a lot, especially if you regularly change lenses.
Food and drink
The last tip is to have enough water and food. In my case, the food is easy, biltong (dried meat) and dried fruit. I usually freeze a two-litre bottle of water overnight, which slowly melts during the day and stays really cold.
I have a blog post dedicated to explaining my equipment in the image above. Click here to read more
Don’t screech to a halt.
If you spot something close to the road and you are not travelling too quickly, you should be able to slow down in time. Most of the bigger mammals which are used to cars won’t budge. Small and shy creatures stand still if the car goes past but will bolt if you screech to a halt. I slip past them, then turn around further down the road and come back slowly to get the shots I want. It also gives you a chance to think about the lighting and how you might want to compose the photo. I have tried reversing, but the whining noise of a reversing car (especially uphill) will also scare them off.
Driving slowly will mean that people with other interests will pass you and head off. I’m alone in the car, and so there is only one pair of eyes. I consider the other people as my big game spotters and am eternally grateful for the many eyes they bring.
Beware of the sightings boards and other associated rumours.
Remember that animals tend to move about, so if you hear about some juicy sighting news, make sure you are relatively close to the place it was seen. If you have to drive more than 45mins to get there, then there is a good chance that they will have left, unless it’s lions asleep…they will sleep all day.
Naughty kids and teenagers can be overenthusiastic and mischievous at the camp’s sightings board. I’ve seen many just putting markers randomly all over the board before running off.
Lastly and most importantly, respect the wildlife.
You may feel invincible sitting in the car or 4×4, but if you come up against a charging elephant, rhino and even buffalo, you’ll be in trouble. Remember that you are in their world. Respect that, and you will have a great time.
Get 2 FREE ebooks when you sign up for my newsletter.



[…] This post was mentioned on Twitter by Anneli Marinovich , Wayne Marinovich. Wayne Marinovich said: 10 photographic tips for Self-driving South African National Parks. http://bit.ly/gAdEFJ […]
[…] with self-driving other South Africa’s National Parks, you can get around perfectly without a 4×4. Many of the routes are tarred, and the dust roads are […]
[…] seen it had it not moved its head. That’s the single most important tip I can give people when self-driving Kruger – Drive slow with your windows down. I got a few shots off before it disappeared. These social […]
[…] CLICK HERE to read some helpful tips to get you on your way. […]
[…] you are thinking about doing a Self-drive safari to South Africa, HERE is a post with travel and photographic tips to help you. Or you can subscribe for more […]
[…] Or, if you’re going to Southern Africa, read my 10 tips to self-driving the National Parks […]
[…] is another post, where I got to photograph more hippo in the park. You might also find 10 photographic tips for self-driving National Parks […]