Travel Photography Tips for Beginners
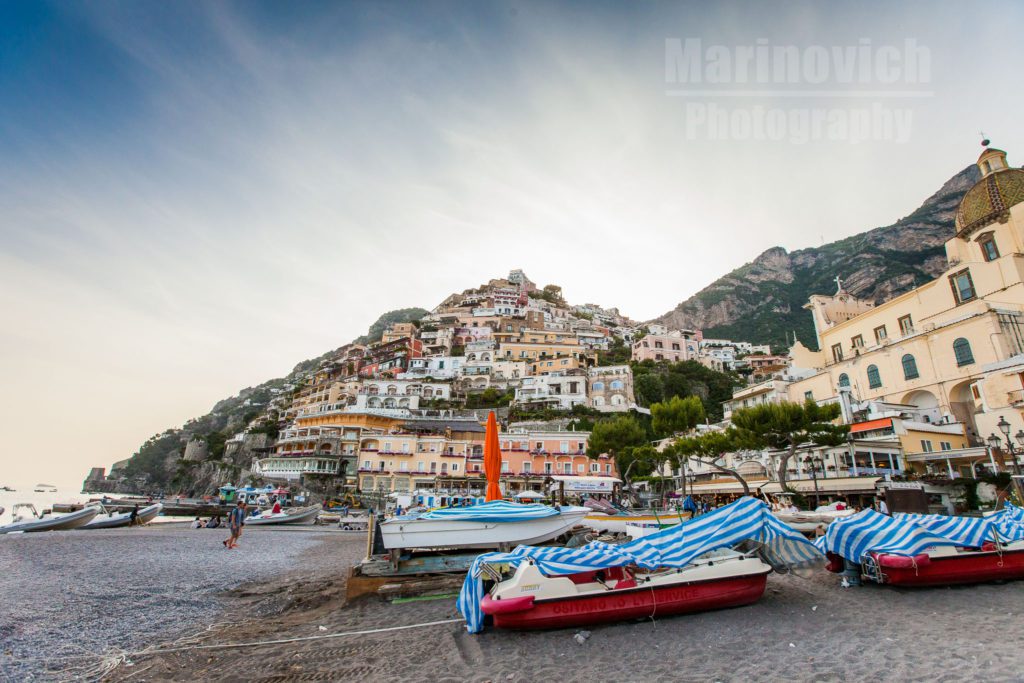
Positano, Italy, in the late early evening
10 ways to improve your travel photography
- Research the trip
- Dawn and Dusk
- Off the beaten path
- Different angles of common subjects
- Travel and camera insurance
- Keep maps and trip notes
- Understand weather and conditions
- Street portraits
- Tell the story
- Experiments with techniques
Introduction
“We shall not cease from exploration, and the end of all our exploring will be to arrive where we started and know the place for the first time” – T.S. Eliot.
Do you want to travel to cities and countries to take photos that you can later sell and make a living from? Or are you someone who just wants a holiday with a bit of photography as you travel?
One is a fantastic job, and the other is a wonderful hobby. While the digital photography revolution has blurred the lines between the two, you still need to decide what you want from your travel photography before you leave. If you’re going to make a career out of it, you’ll have to be more strategic in your approach. If it’s just a hobby, then it can be more stress-free as you work on the creative side of it more.
The approach you need to do travel photography on a full-time basis is very different to doing it as a hobby. A lot more preparation and commitment are needed if you want to do this as a career, which means that your mindset might need to change from the outset.
1. Research the trip
I know it’s stating the obvious, but your research needs to happen before you leave home. This research doesn’t include your flights or hotels, which are obvious necessities anyway.
Flick through travel guides and fellow traveller’s websites to make your list of “must-have photographs”.
Have a look at the Google images to see if there are variations of the necessary photos taken at different times of the day. Your goal here is to get an idea of what time of day is best to shoot those iconic images. If you’re an aspiring travel photographer, these are the bread-and-butter shots you need from your trip. You can then fill in the rest of the travel story with other images taken around these main ones.
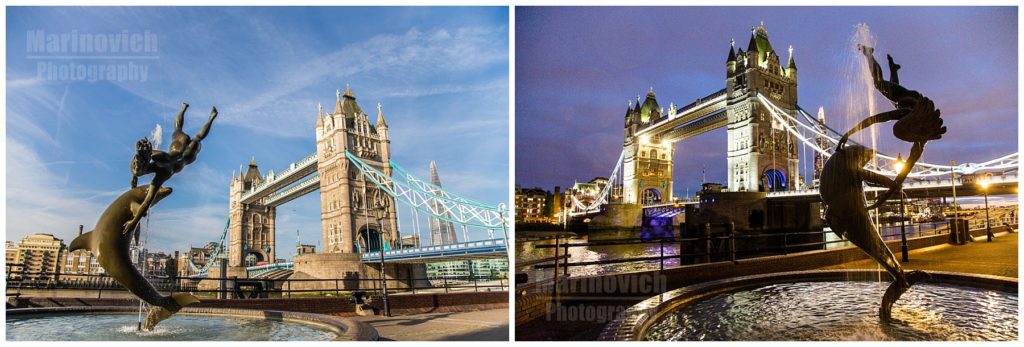
Iconic sites need to be visited at various times of the day
Create your shot list, then make plans to fit them in for the duration of your stay. Don’t be too ambitious, though. You’d be better off getting a few iconic places creatively photographed than rushing through many just to tick everything off. Experience will teach you which ones to focus on over time.
Don’t worry about photographing “already been done to death” sites or monuments. You are a unique person with an outlook on the world that is unique to you – no one will do your travel photography like you.
Research special cultural or religious events unique to the country or city you’re visiting. Festivals are also a way to capture the locals and to show the different customs of each country.
2. Dawn and Dusk
It’s all about light.
Light is the most important aspect of photography. You constantly need to be aware of the quality of light as you travel around. Know the direction of where the light will come from and also whether it will be warm or cool light (temperature).
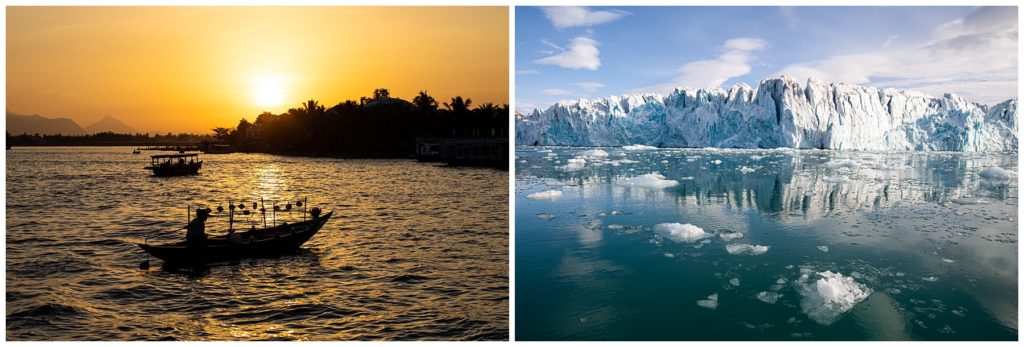
Warm and cool light can be used to tell a story or convey a mood.
Look for areas or sites of interest that will be front or backlit during the golden hour periods of the day. The golden hour is a term to describe the warm light that you usually see just after sunrise and just before sunset. It is between one to two hours of pure magic.
Street scenes are more challenging during these times (unless you’re shooting silhouettes) because the contrasts and shadows will play havoc with your metering. Tall buildings could shade many iconic places from the warm low light, so look at the direction and time of day.
Allow yourself the time to visit a place more than once if you can (and at different times). Despite all the research online, it’s only when you get there that you can get a sense of the shots available.
Know where the sun is at all times.
Get an App like Focalware and learn what it does. It’s a compass but also calculates the sun and moon’s position based on your location on the planet. Focalware has saved me many wasted trips. It also gives you the time of sunrise and sunset at your location, which is crucial to work out those golden hour times.
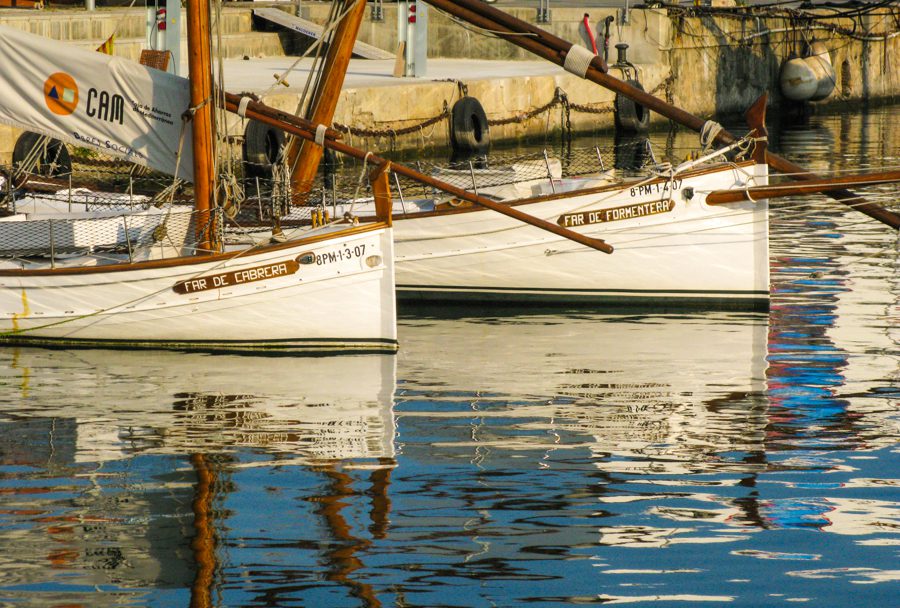
When the sun is low on the horizon, it gives front-lit subjects a warm feel
3. Off the beaten path – the key goal of travel photography
Scout around online before you leave (thousands of travel blogs exist online or use TripAdvisor) to find interesting places. You can also chat with hotel staff or your Airbnb hosts when you get there. To tell a good travel story, you want to be where the locals go, and they generally avoid the large throngs of tourists. Chat with the locals in shops and restaurants – you might even get a dinner invite if you build up a good relationship over a few visits. Part of travel photography is capturing locals as they go about their daily lives. Travel photography is about discovery and experience. Why spend the day amongst people from your neck of the woods when you can expand your worldly horizons by meeting people from different cultures and traditions?
“Wherever you go becomes a part of you somehow.” – Anita Desai
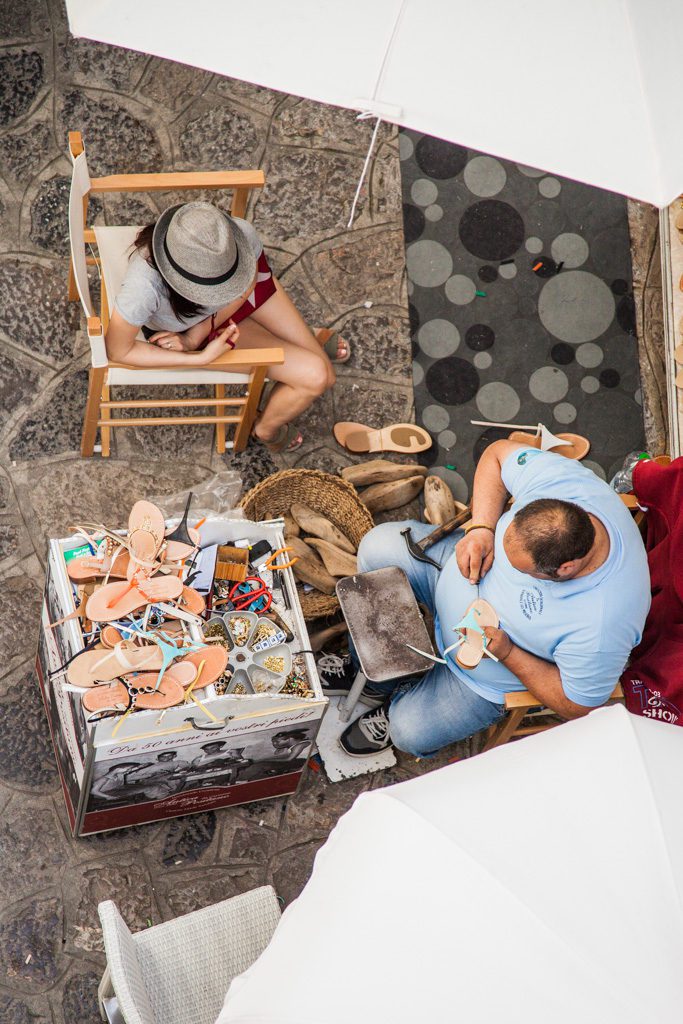
Small side streets are a great place to photograph locals going about their daily lives
4. Different Angles of Common Subjects
Try getting down your knee for a lower angle or framing an iconic image with other buildings. Iconic buildings, piazzas, or cathedrals will all be well photographed already, so play around with new angles. Spend time in each location to allow your creativity to show you a new perspective. Don’t be afraid to fail here. You won’t waste any film and can delete your work when you get home.
That new perspective starts with seeing a common subject in a new light or angle. Seeing these new images has to happen before you even press the shutter release. Not every new perspective you try will work. As soon as you see the image on the back of your camera or on your laptop, you’ll know if you have got something good or not.
“The real voyage of discovery consists not in seeking new landscapes, but in having new eyes.” – Marcel Proust.
Note: Download your images each evening and check what you’ve captured. Sitting on your bed with a glass of wine, looking through the successes of the day will allow you to see if you got the shots. Leave the social media posts for a later time because your photos are more important at this point. If you don’t like any of the day’s photos, you can get back out and reshoot them. That’s the wonder of the digital world.
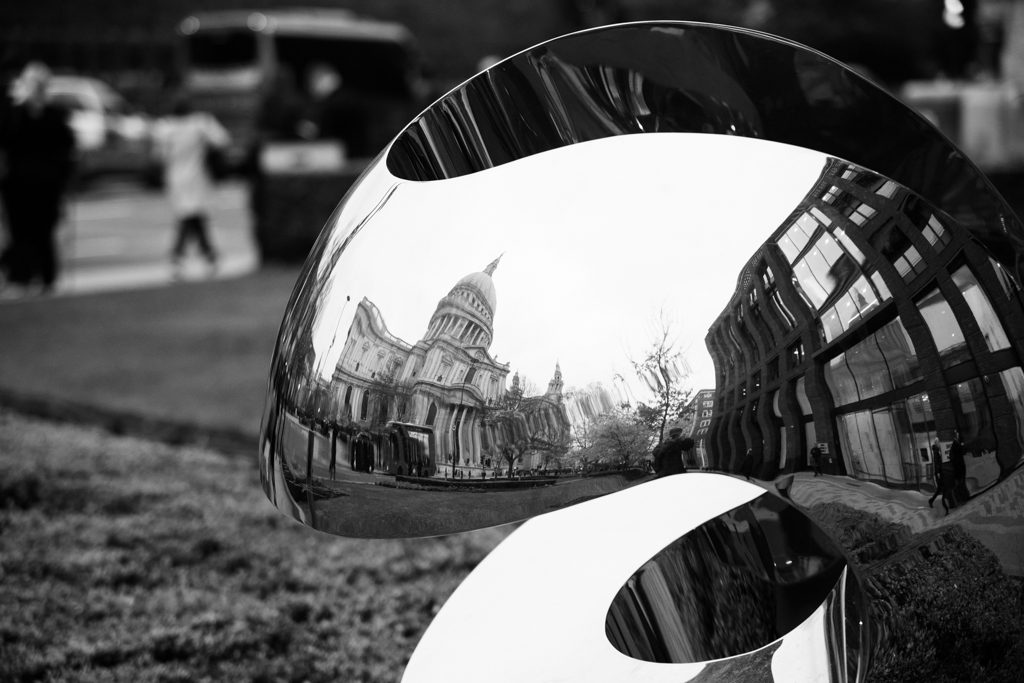
Keep trying different perspectives of iconic sites – St Paul’s Cathedral, London
5. Travel and camera insurance
I know this is not a glamorous subject, but make sure you have good insurance. If you’re serious about your photography, get a separate cover for your camera equipment too. Camera insurance policies also offer third-party and public liability insurance when you sign up. Take it out if you’re serious about it as a career. If someone falls over your bag while you’re taking a photo, you’ll need cover if they decide to take legal action.
6. Keep maps and trip notes.
Have different levels of detailed maps of the areas that you’re travelling to because you may not have phone roaming or Google maps wherever you’re going.
While shooting, I take photos of street names, park boards or street information boards of the areas I go into. When I’m editing, the photo of that street name then precedes the monument or tourist attraction that I have photographed. This helps for keywording, too, if you’re running an editing suite like Adobe Lightroom.
If you’re photographing the Eiffel tower, you’ll know where your photos were taken. What about the man sweeping the pavement just off one of the streets near the Eiffel Tower? A month later, it’ll take you more time to find out that street name again on a map. Get into the habit of looking for markers to photograph that help with your editing and blogging.
Hotels and B&Bs often have free maps of the local area. Take a few and scribble notes on them if you must.
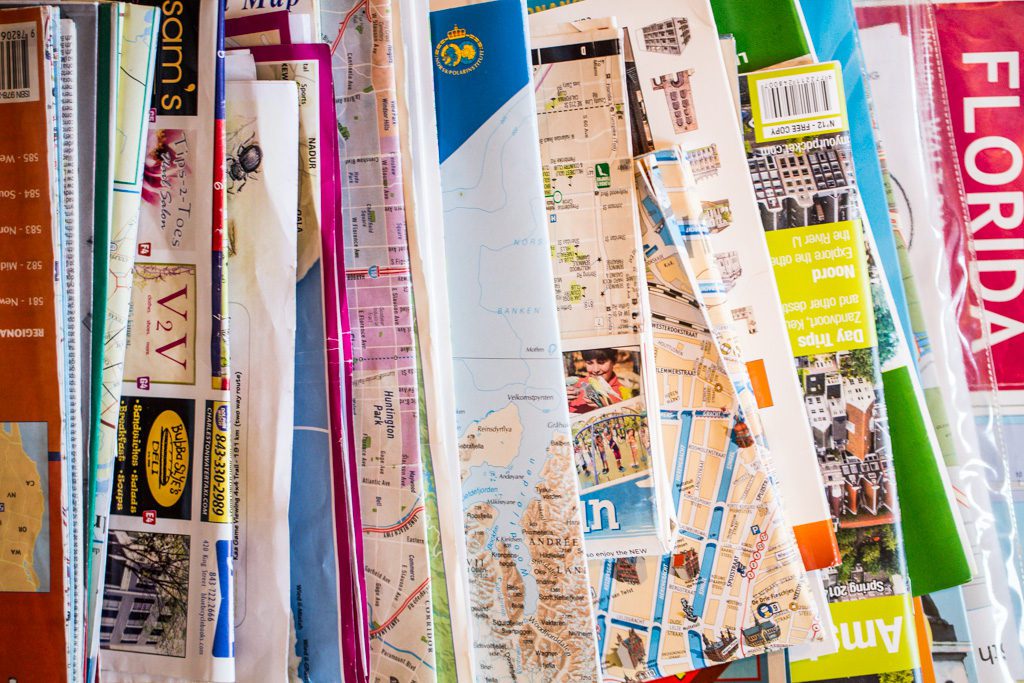
Travel maps for photography
7. Understand weather and conditions
Cold weather – If you’re out and about in very cold weather (5 degrees or below), condensation can be your enemy. It occurs when you go from the cold outdoors and step into a nice warm room with a big fire. You might feel great (unless you wear spectacles, of course), but your cold lenses and even the internal glass of the camera will fog up. This can take days to clear up naturally if you don’t go back out into the cold. I keep a black refuse bag rolled up inside my camera bag. Simply place your camera bag inside this and then go inside. The bag will keep the warm air from getting to your kit (after a few minutes, you may see condensation on the outside of the plastic bag). It usually takes about one to two hours for your cameras to warm up again. If you’re popping into a place for a coffee, it’s okay to leave your camera in the bag for a while. Don’t be tempted to take your camera out to look at your images though.
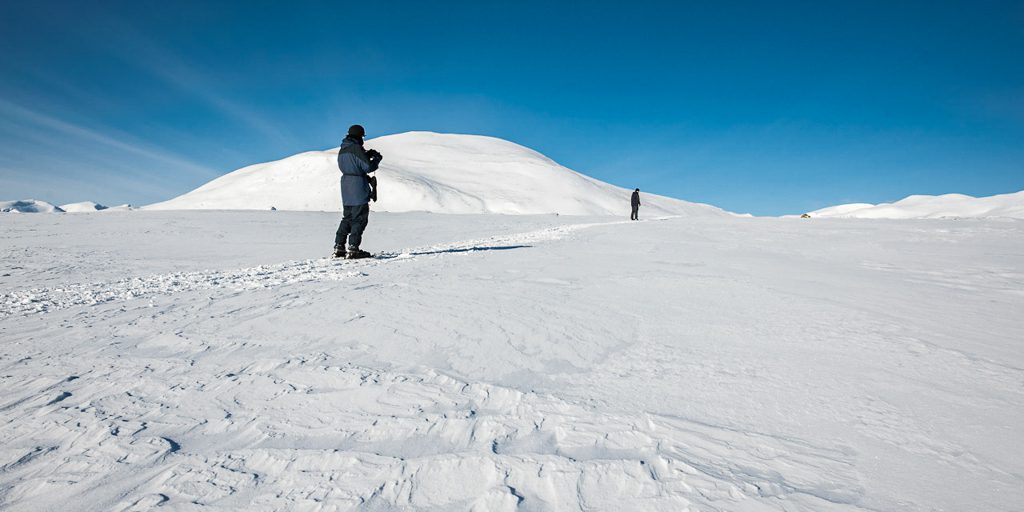
Chasing Musk Ox in Norway. – me and another photographer following the sled with our mountains of equipment.
Sandy and dusty environment – When travelling to India, Africa or other hot and dusty places, I always have a small paintbrush in my bag. Use the ones for painting walls, not canvases, because they’re bigger with tougher bristles. I use these to brush off the camera and lens before swapping lenses or changing cards. I’ve dropped lenses and cameras before, and they survive a lot, but getting dust into working parts can cause a lot of damage over time. This also helps with dust which will inevitably find its way to the sensor.
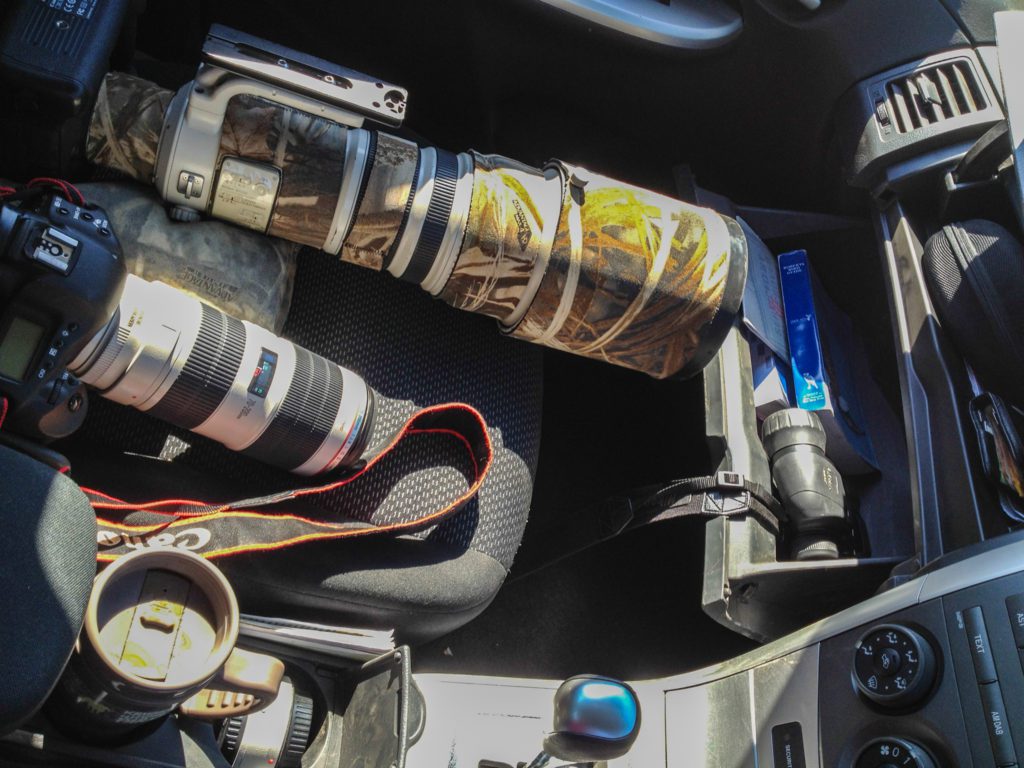
Equipment covered in dust means a lot of extra cleaning.
Saltwater and sea spray – Dangerous for your camera and can cause real havoc. Not at the time of taking the images because most modern cameras are well-sealed. Over time the salt moisture can get in and cause rust to the critical parts. When you return to your hotel, get a cloth dampened with tap water and wipe down the external surfaces.
8. Street Portraits
Approach interesting locals and see if they’d agree to let you photograph them. Start with eye contact or a smile. Chat with them for a little while and tell them what you are doing. Explain to them why you want to take their photo. You need to build a small level of trust, so engage with them and be interested in what they have to say. A few will agree, and many will say no, which is natural. Never offer to pay for photos, though. It sets a bad precedent and makes it difficult for all other photographers following you. Simply thank the locals and walk away if they insist on payment.
Occasionally you can get portraits without the people even seeing you. While these candid photos form the basis of the Street Photography genre, they make for great travel photos too. I’ve never been a fan of people staring at the camera. I may ask them if I simply can photograph them as they work or go about daily life. It seems more natural.
Be aware of what you are photographing, especially things like children at schools, military installations, airports etc. They’re fraught with dilemmas and differ in many countries, so they are not worth the effort nowadays unless you are working on a specific project about them.
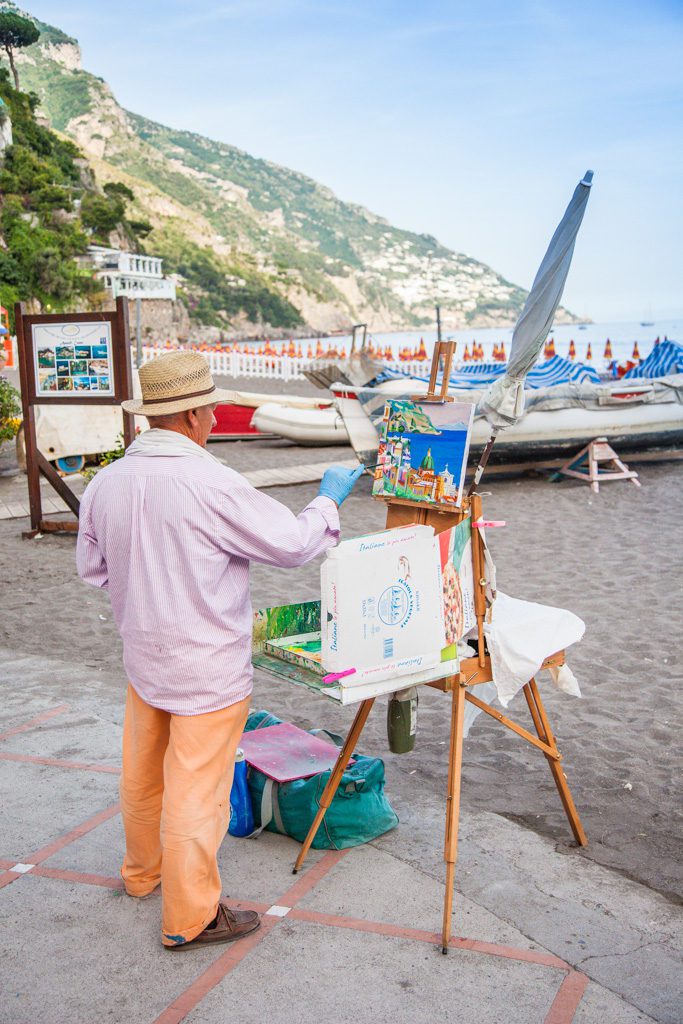
Ask locals if you can take a portrait of them as they work
9. Tell the story.
Wide cityscapes are also part of this genre and tell as much of the story as street scenes, close-ups, or abstracts do. They frame your trip for the sequence of images that you may take in that area.
Plan your day as if you were going to show a photographic story of that day to a group of people who’ve never travelled abroad. You want a whole mix of photographic styles and genres to convey the “day in the life”.
“Though we travel the world over to find the beautiful, we must carry it with us, or we find it not.” – Ralph Waldo Emerson, Emerson’s Essays.

Travel = Place + People + Lifestyle
10. Experiment with techniques
Have fun using wide-angle lenses, getting down low to the ground, taking tight crops of larger subjects, panning, blurring or zoom bursts. All techniques that will show variety and creativity from your travels, plus they’ll help to keep things fresh for you. Decide before you leave if you want to try photos of light trails and night photography because you’ll need to pack a tripod for this. I always travel with one because there are light carbon-fibre ones out there that can easily fit into your suitcase.
If you are keen to learn more about photography in general, I run many personal workshops to teach and guide photographers on their journey. One of them is a 1-2-1 Travel photography workshop in London and Brighton called – Postcards at Home.
Click on this link for more details: TRAVEL PHOTOGRAPHY SESSION IN LONDON or BRIGHTON.
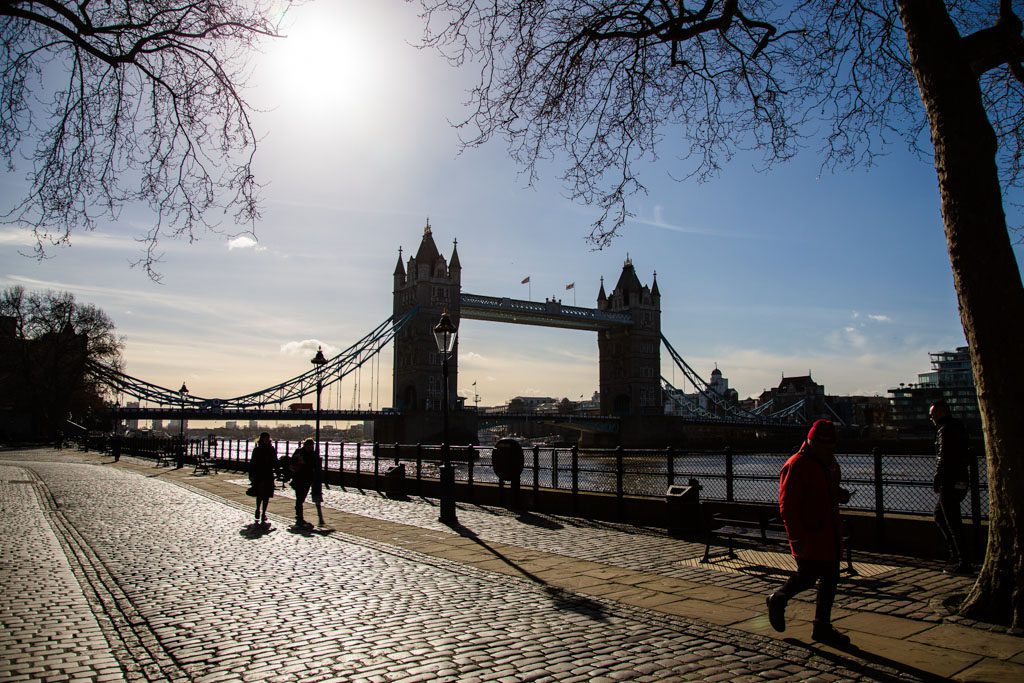
Other Photography Tip links
10 Basic Street Photography Tips
10 Basic Wildlife Photography Tips
20 Basic Photography Tips for beginners

